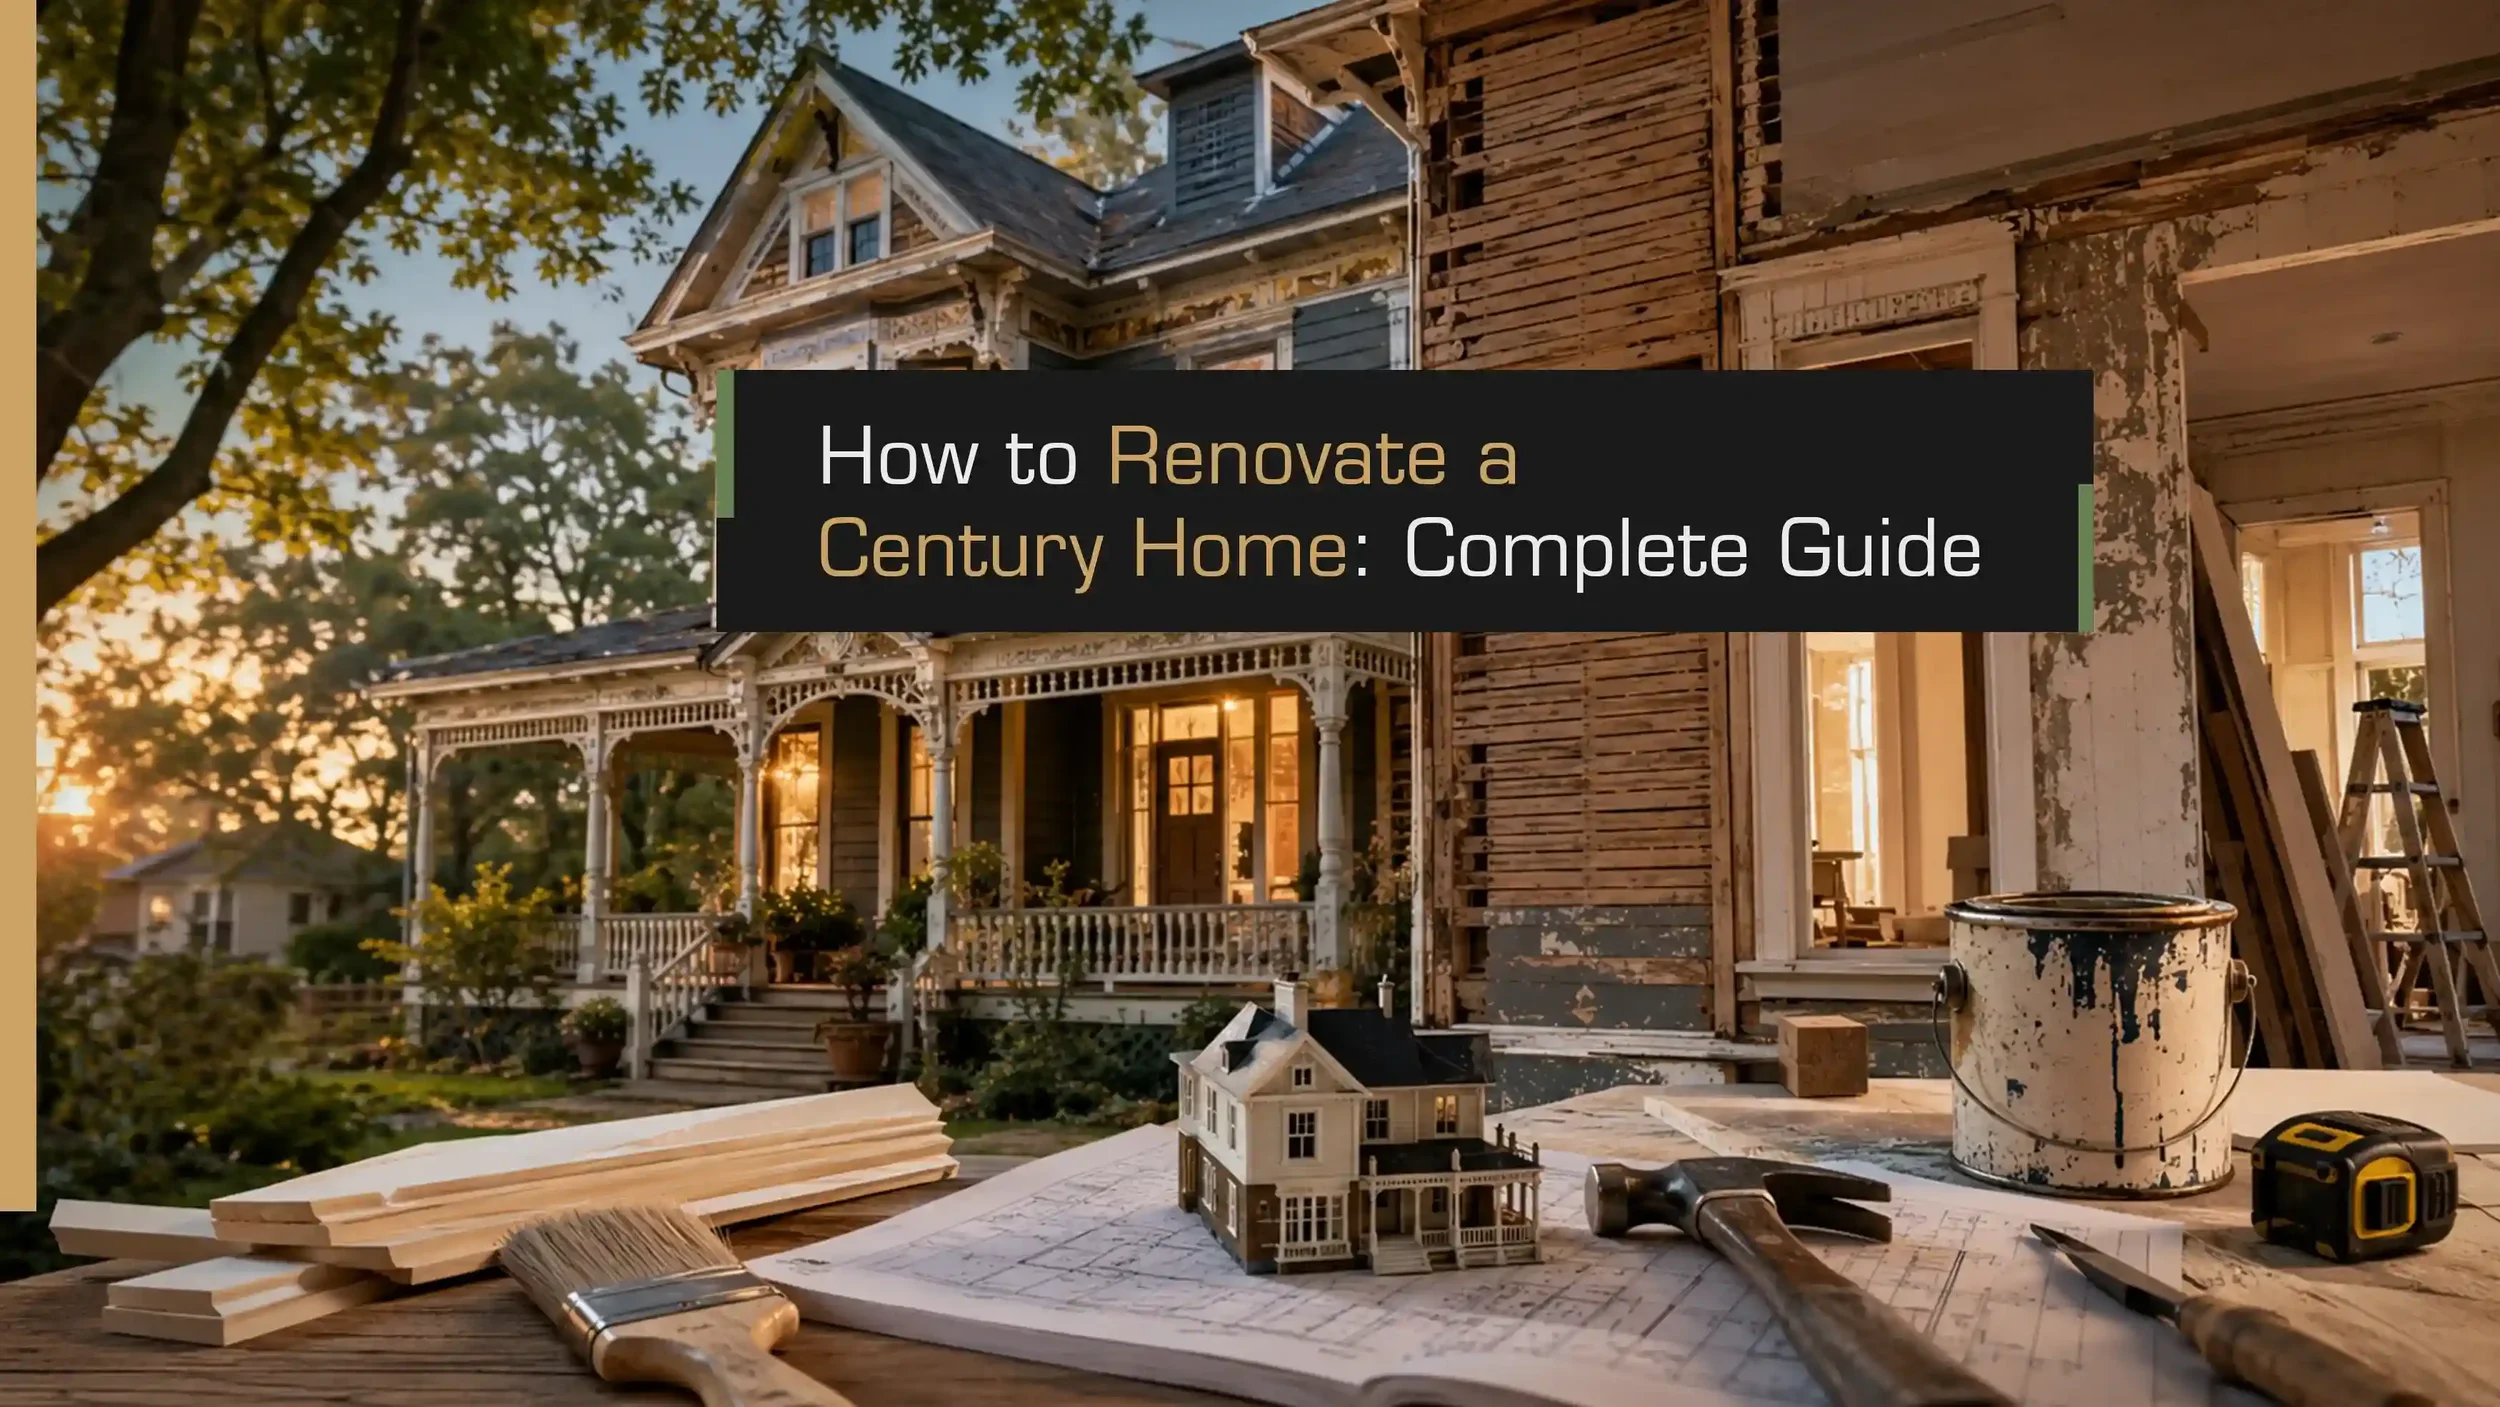
The historic craftsmanship, old-growth timber, and intricate architectural details of a century home are nearly impossible to replicate today. Yet behind that original charm lies a predictable set of century-old structural and mechanical challenges. Renovating an old house takes careful planning. The right order helps you avoid spending money on finished work only to tear it out later. This guide outlines the ideal construction sequence, exposes common hidden defects, breaks down realistic budgeting, and demonstrates how to integrate modern comforts while honoring original architectural details.
Century Home vs. Just an Old House: Why It Changes the Job
Beginning work, determine whether the property carries an official historic or heritage designation or is simply an older house. If it is officially designated, local historic preservation commissions may have strict rules covering exterior changes, materials, window replacements, and the home's overall architectural character. An undesignated older home generally gives you more freedom, although it can still require specialized construction methods. You can check your property's status through your municipality's local historic preservation office or by searching the National Park Service National Register of Historic Places database.
This distinction matters because remodeling a historic home means planning around aging systems such as legacy electrical wiring and deteriorating pipes. It is not simply a matter of giving the house a quick cosmetic update.
The Right Order to Renovate a Century Home
Phase 1: Structure and Envelope
The first priority in any century home renovation is making sure the structure is sound and keeping water outside. Address foundation settling, repair damaged sill plates, fix roof leaks, clean masonry, and restore gutters before working on the interior.
Once the building envelope is secure, the interior work that follows has much better protection from weather-related damage.
Phase 2: The Guts
After the structure is dry and stable, move on to the home's mechanical, electrical, plumbing, and thermal systems. Remove outdated wiring, replace old piping, install efficient modern HVAC units, and improve insulation in the attic and exterior wall cavities.
Handling these systems at this stage helps prevent you from opening up freshly restored walls later.
Phase 3: Surfaces
Once the utility systems are in place, move to wall, floor, and opening repairs. Patch or replace damaged plaster and lath, prepare the subfloors, restore original hardwood, and improve drafty windows with proper weatherstripping or custom storm units.
This gives you a clean and stable surface for the final interior details.
Phase 4: Finishes and Cosmetics
Now you can focus on the home's appearance. Install cabinetry, lay tile, add historic-style trim, mount light fixtures, and apply paint finishes.
Leaving cosmetic work until the end helps protect your new finishes from the dust, damage, and disruption caused by structural and utility work.
What Actually Breaks in a 100-Year-Old House
Electrical: Knob-and-Tube and Ungrounded Wiring
Many homes built around a century ago still contain knob-and-tube wiring or ungrounded two-wire cloth circuits. Knob-and-tube wiring has no grounding wire and can deteriorate with age. It can also create serious fire risks if it is covered with modern insulation or overloaded by today's electronics.
Replacing these outdated systems with modern 200-amp electrical panels and grounded Romex wiring is important for both safety and insurance coverage.
Plumbing: Galvanized and Cast-Iron Pipe
Older plumbing systems often use galvanized steel supply lines and heavy cast-iron waste stacks. Over time, galvanized pipes can corrode from the inside, reducing water pressure and allowing rust to enter the water supply. Cast-iron waste lines can also crack, develop pits, or collapse as foundation settlement affects them.
Replacing these systems with modern PEX supply lines and PVC waste runs provides better long-term reliability.
Walls and Ceilings: Plaster and Lath
Traditional plaster and lath can provide better sound dampening and thermal mass than drywall, but these materials can deteriorate after decades of use. The plaster keys, which are the sections that grip the wooden lath, can break over time. This can result in sagging areas, hollow sections, and widespread cracks.
Repairs require careful re-keying or selective patching with modern drywall compounds.
Foundation and Framing: Settling, Moisture, No Footings
Century home foundations were often built from fieldstone, brick, or unreinforced concrete without the modern poured footings used today. Years of moisture intrusion can lead to mortar washout, rotting floor joists, sagging beams, and uneven floors.
Depending on the problem, remediation can include installing interior perimeter drainage systems, sistering damaged joists, repointing historic masonry, and jacking up main support beams.
Windows, Insulation, and Drafts
Original single-pane wood windows and uninsulated exterior wall cavities can allow a significant amount of heat to escape. But replacing original dense old-growth wood windows is not always necessary.
Restoring sash weights, adding high-performance weatherstripping, installing fitted exterior storm windows, and blowing dense-pack cellulose insulation into wall cavities can improve energy efficiency while preserving the home's historic appearance.
Safety Callout: Lead and Asbestos Hazards
Homes built before 1978 often contain hazardous materials, including lead-based paint and asbestos. Asbestos may be found in gravity furnace pipe wrap, textured plaster, vermiculite attic insulation, and older floor tiles.
Never sand, scrape, demolish, or otherwise disturb materials that may contain these hazards yourself. Before disturbing any wall or ceiling surfaces, hire certified inspectors to test for hazards and follow official EPA guidelines for safe professional abatement.
Preserving Character While Modernizing
When you revamp your old home, the challenge is finding the right balance between historic character and modern needs. Start by protecting original features that are difficult or impossible to reproduce today. These can include old-growth hardwood flooring, thick baseboards, solid wood interior doors, and hand-carved fireplace mantels.
Rather than gutting the historic floor plan to create an open-concept layout, consider working with the existing room footprints. Modern features can be added without making them the focus. For example, HVAC ductwork can be hidden inside closets, panel-ready appliances can give kitchens a cleaner look, and period-appropriate lighting can complement the original design.
You can also restore existing single-pane windows and pair them with modern storm sash units. This keeps the original wavy glass texture while improving thermal performance.
What a Century Home Renovation Really Costs
An old house renovation often costs more than a standard modern remodel because it requires specialized labor and may uncover unexpected structural problems.
Primary Cost Drivers: Major utility upgrades, including electrical, plumbing, and HVAC work, can be significant expenses. Lead and asbestos removal, foundation leveling, and custom historic carpentry can also increase the total cost.
Square-Foot Pricing Impact: Labor and material costs per square foot can be higher than those of a typical modern remodel. Custom-milled trim, non-standard dimensions, and skilled trade requirements all contribute to the higher cost.
Contingency Planning: Maintain a 20% to 25% financial contingency buffer above your initial contractor estimates to absorb unexpected structural or utility repairs.
Financial Offset Options: Properties with local historic designation may qualify for tax incentives or preservation grants. Consult the National Trust for Historic Preservation Financial Incentives Guide to explore available tax credit programs.
Conclusion + Next Steps
Restoring a historic property is largely about following the right sequence. Start by stabilizing the structural envelope, then upgrade hidden utility systems, repair plaster and floors, and finish with period-appropriate cosmetic details.
The process takes patience, but a thoughtfully updated historic property can retain its craftsmanship and provide lasting value.
Before picking up a hammer, schedule an inspection with a structural specialist or arrange professional testing with an accredited lead and asbestos environmental consultant.
Frequently Asked Questions
-
Yes, if you value character, old-growth timber construction, and craftsmanship that modern tract homes rarely offer. Mechanical upgrades can require a significant upfront investment, but a restored century home can retain strong long-term resale value.
-
Always start with water mitigation and structural stability. Repair roof leaks, failing gutters, and foundation settlement issues before beginning interior work.
Keeping water out helps protect later utility installations, wall repairs, and cosmetic finishes from expensive water damage.
-
If your house is inside an officially designated historic district, exterior changes such as window replacements, siding changes, and roof work typically need review and approval from the local historic preservation commission. You may also need standard municipal building permits.
-
Look at the basement joists or attic floor for ceramic knobs and tubes holding cloth-covered wires. If the home was built before 1978, assume lead paint may be present beneath the surface coats.
Confirm suspected hazards with certified EPA lead test kits or by hiring a licensed environmental inspector.